D2L Brightspace LTI Integration
This guide covers integrating the HiTA app into your D2L Brightspace instance. Installing the HiTA app allows HiTA to be accessed directly from within a D2L Brightspace course.
Tool Registration
On HiTA
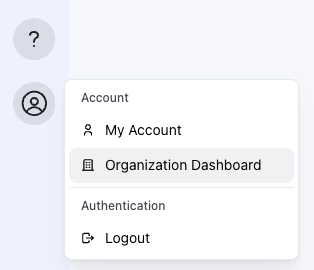
In your browser navigate to the HiTA app and open the developer dashboard by clicking your user icon in the lower left and selecting the Organization Dashboard option.
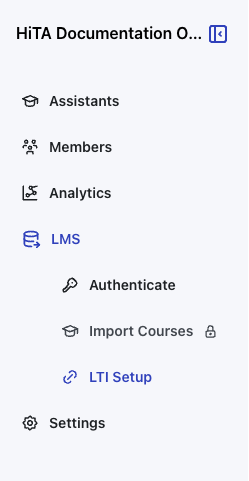
In the Organization Dashboard, click the LMS option from the navbar and choose the LTI Setup option.

Take note of the registration details on this page. We will make use of them soon. Keep this tab open for now and proceed to D2L.
On D2L
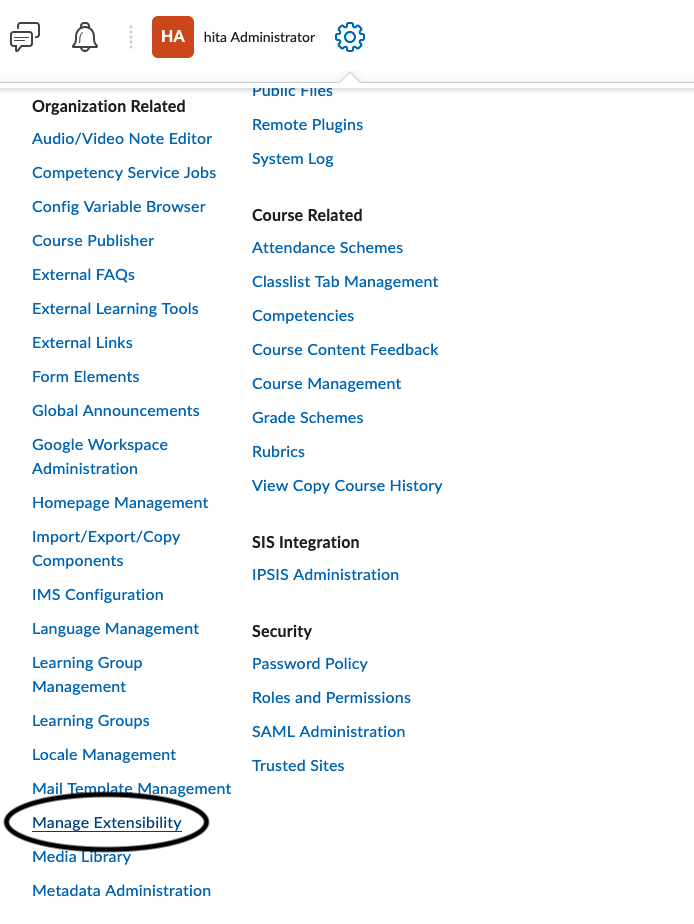
Login as a D2L administrator and open the Manage Extensibility page.
Open the LTI Advantage tab then click Register Tool.
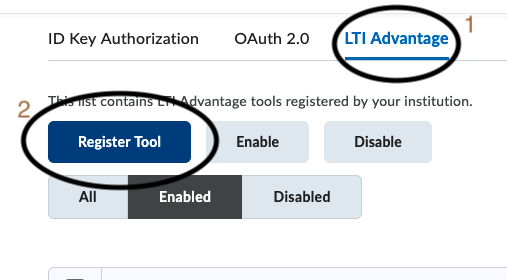
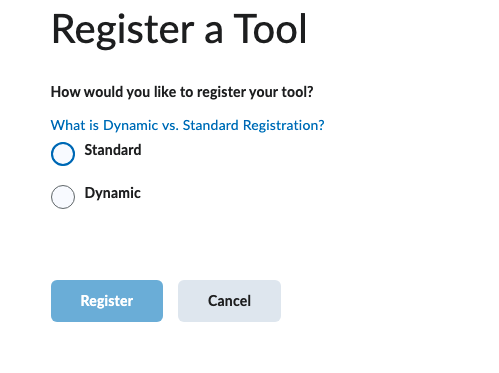
Select the Standard option and click Register.
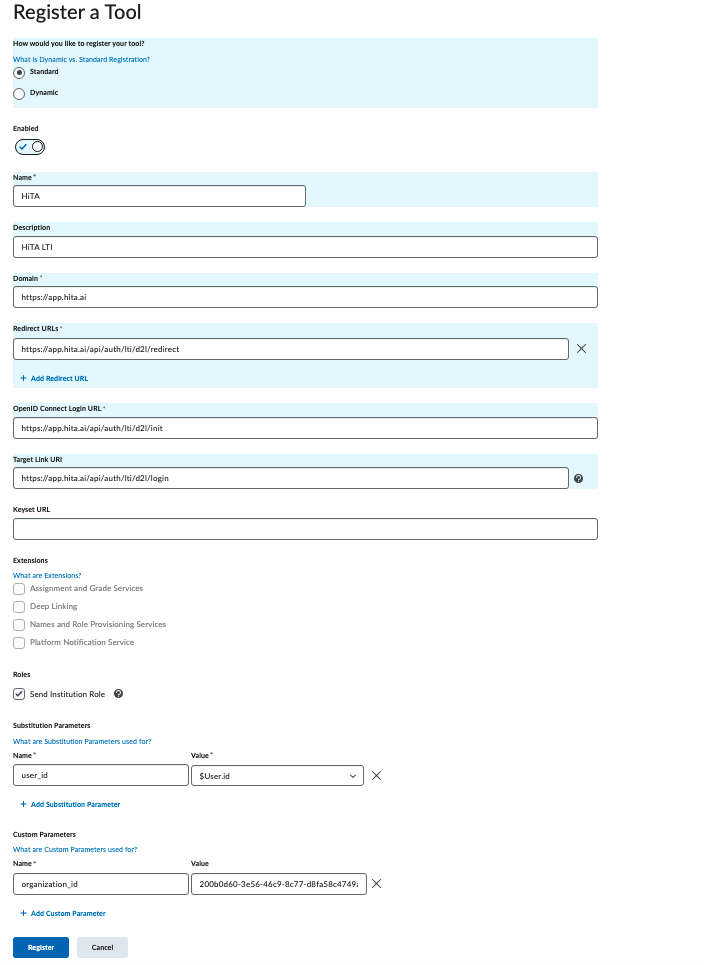
Fill out the form with the details from the HiTA LTI Setup page:
- Name:
HiTA - Description:
HiTA LTI - Domain:
https://app.hita.ai - Redirect URLs:
https://app.hita.ai/api/auth/lti/d2l/redirect - OpenId Connect Login URL:
https://app.hita.ai/api/auth/lti/d2l/init - Target Link URI:
https://app.hita.ai/api/auth/lti/d2l/login
Under Substitution Parameters, add the following:
- Name:
user_id - Value:
$User.id
Under Custom Parameters, add the following:
- Name:
organization_id - Value:
<org id value from HiTA LTI Setup page>
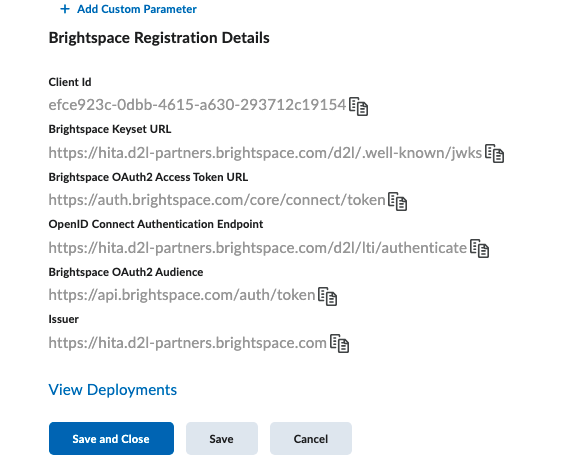
Once the new LTI 1.3 tool is registered, Brightspace will expose a set of configurations that are needed to complete the registration on the HiTA side. Save these details for the next step.
Tool Deployment
Next we need to create a deployment of the LTI app.
On D2L
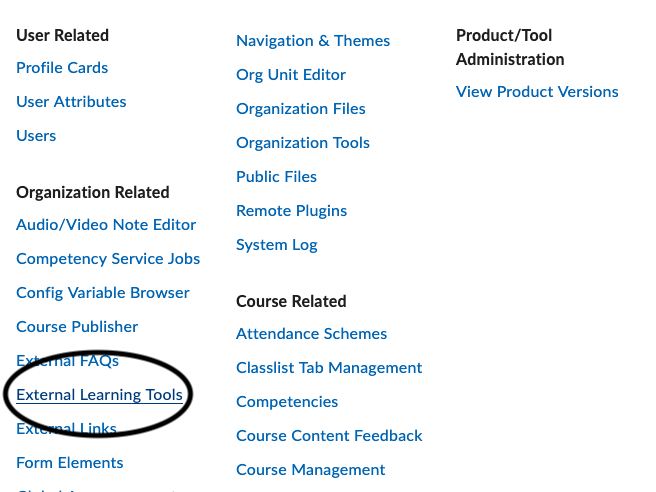
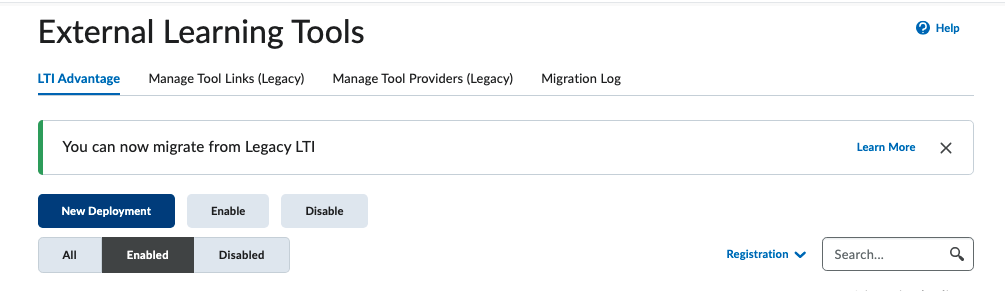
Click the External Learning Tools tab under Settings.
- Click
New Deploymentand fill out the form with the details from the HiTA LTI Setup page.
- Select the HiTA registration tool from the dropdown.
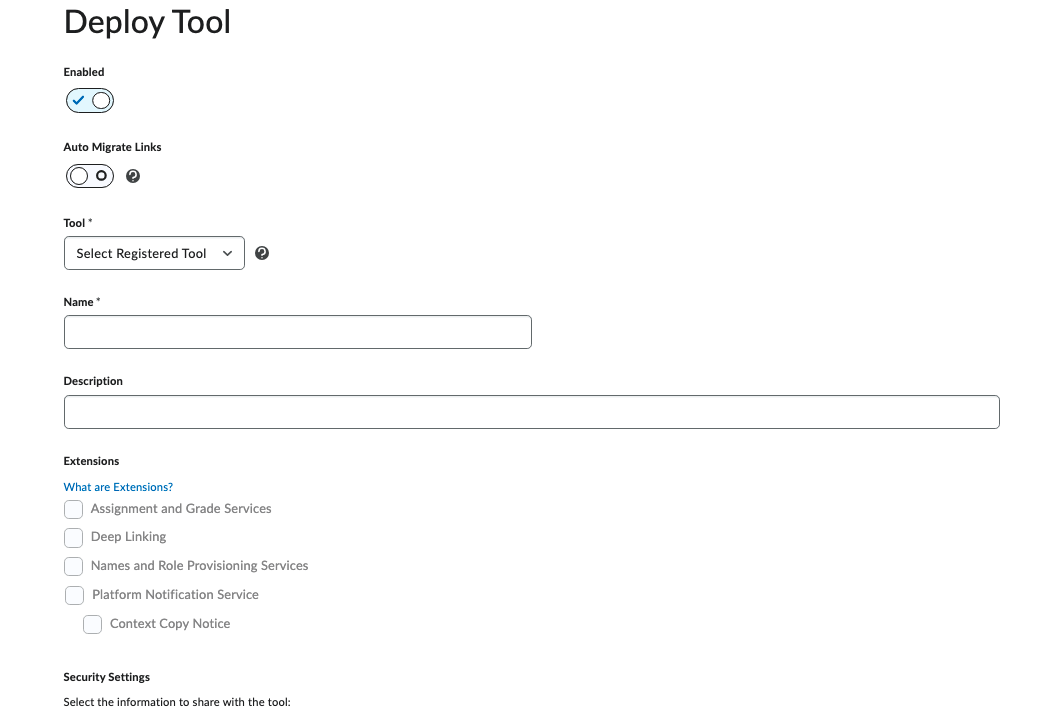
-
Provide a name for the deployment.
-
Ensure all the following boxes are selected under the security settings:
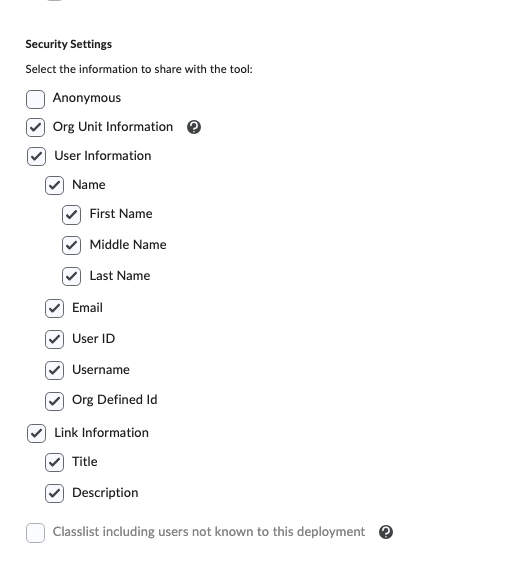
You should see the same Substitution Parameters and Custom Parameters that you added in the D2L Registration Tool page.

- Click
Add Org Unitsand Filter byOrganizationtype and select your organization and under options selectThis org unit and all descendants.
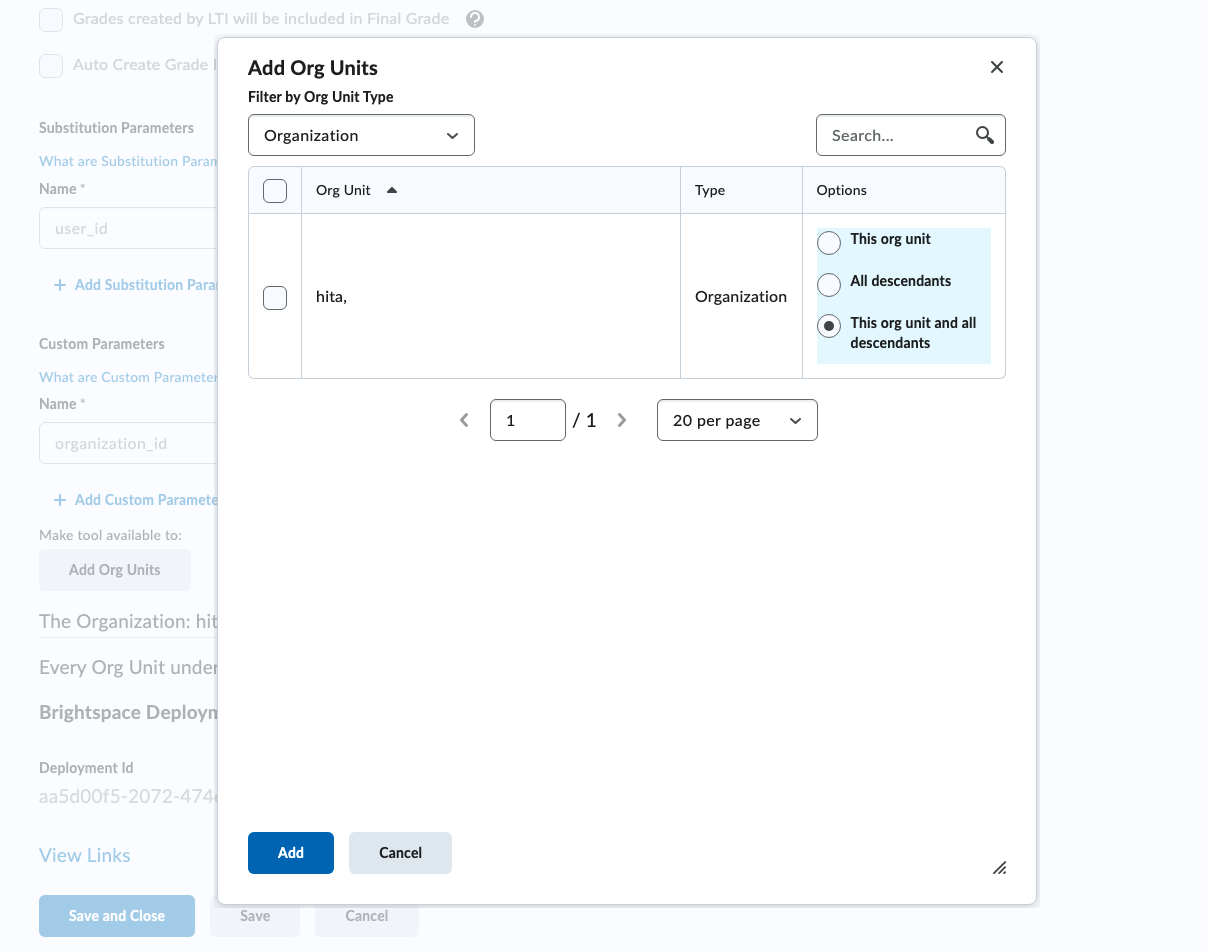
- Click
Create Deployment.
You should see the Brightspace Deployment Id now.
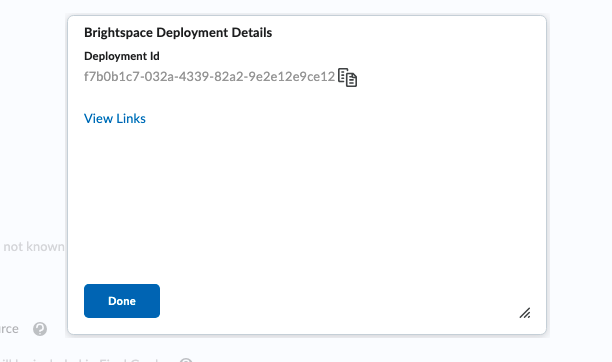
On HiTA
- Copy the
Deployment Idfrom D2L and paste it into the HiTA LTI Setup page. You will also need to copy over the Brightspace Registration details that you took note of from the D2L Registration Tool page.
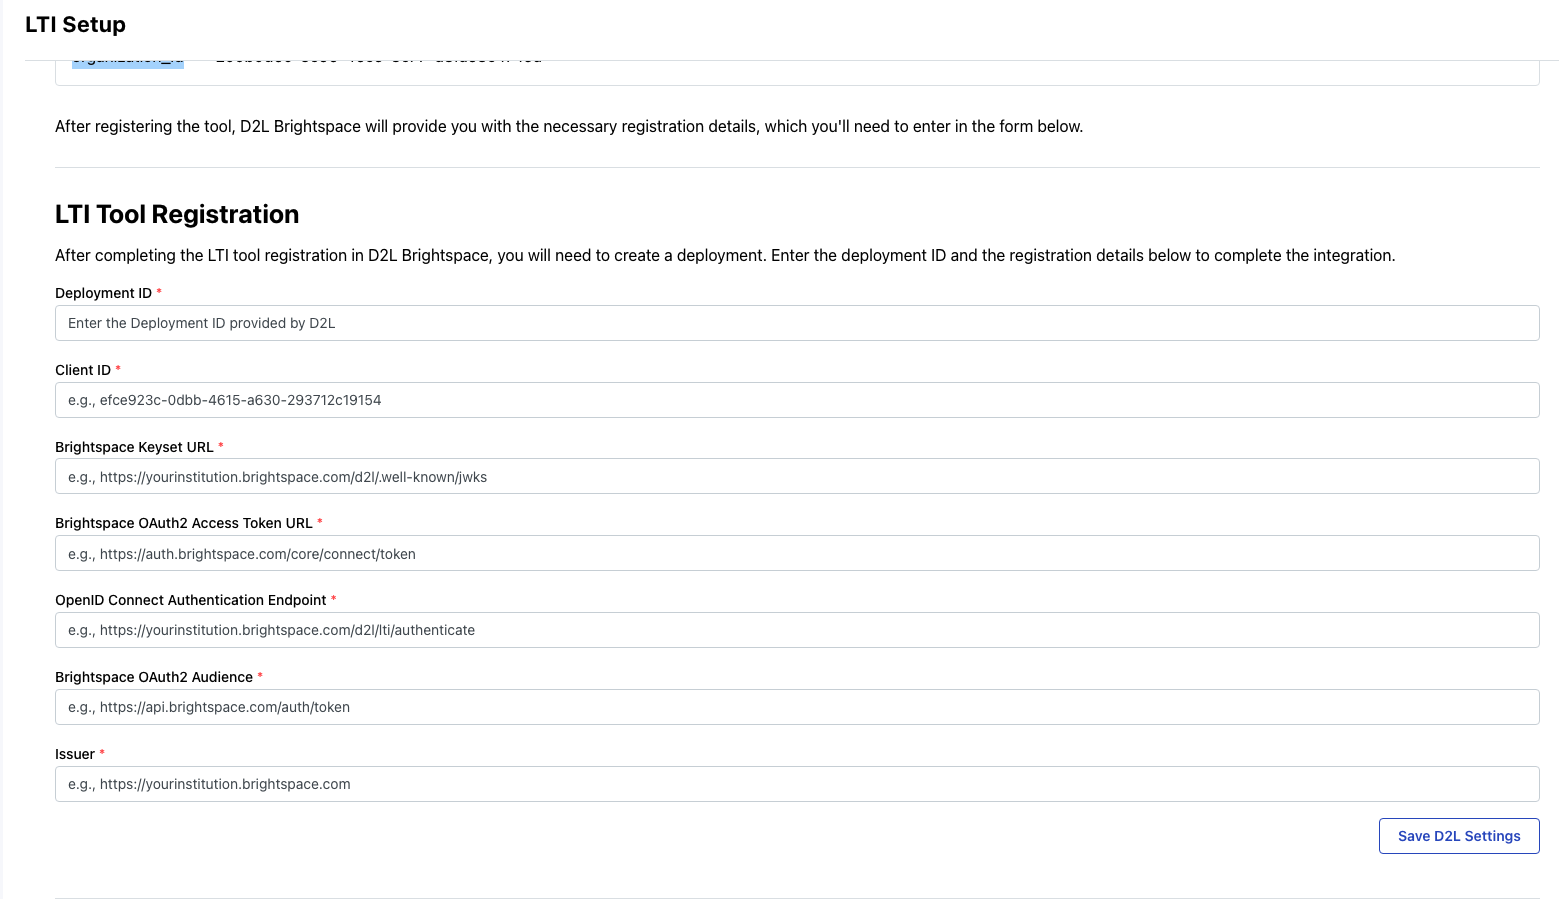
- Click
Save D2L Settings.
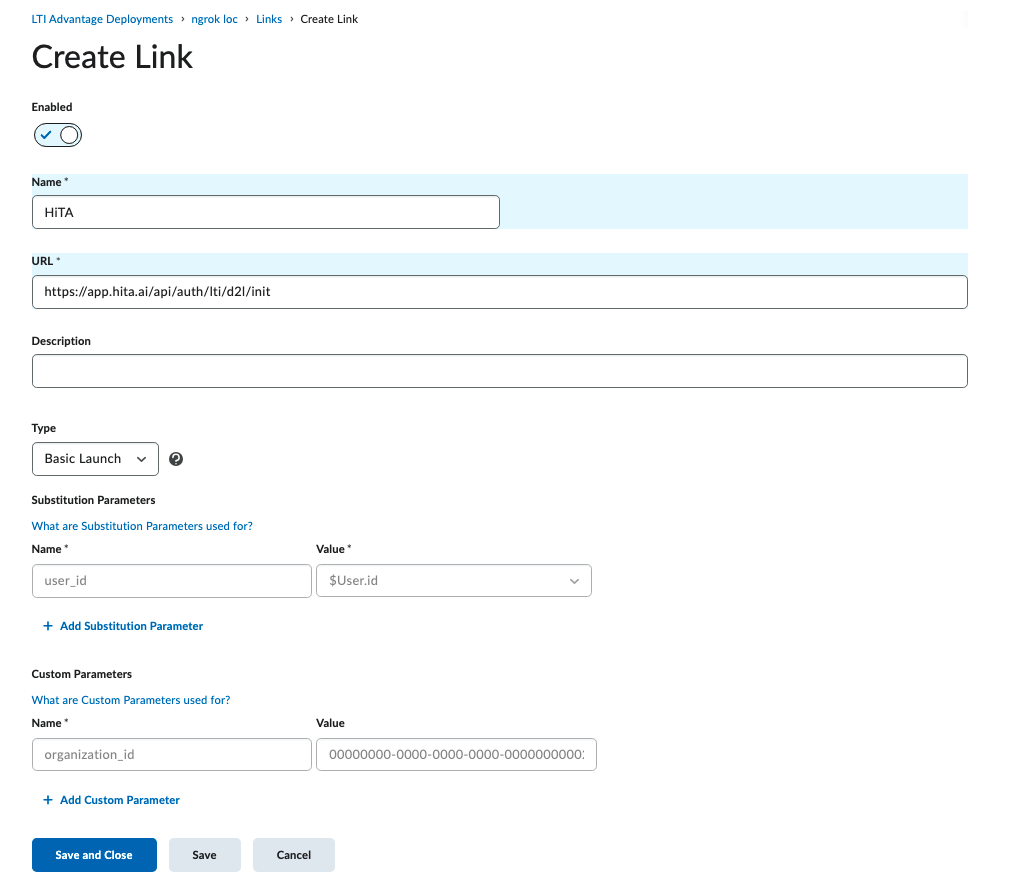
LTI Link Creation
The last step is creating the links that can be added in the D2L courses to launch HiTA.
On D2L
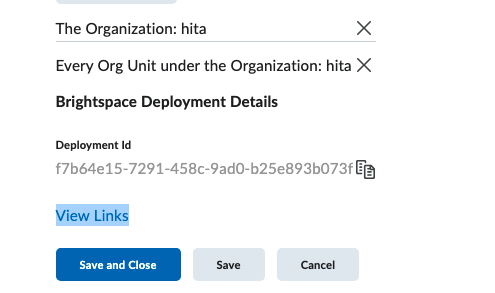
- Under the same External Learning Tools page, click the new deployment name that you created.
- Scroll to the bottom of the page and click
View Links.
- Click
New Link.
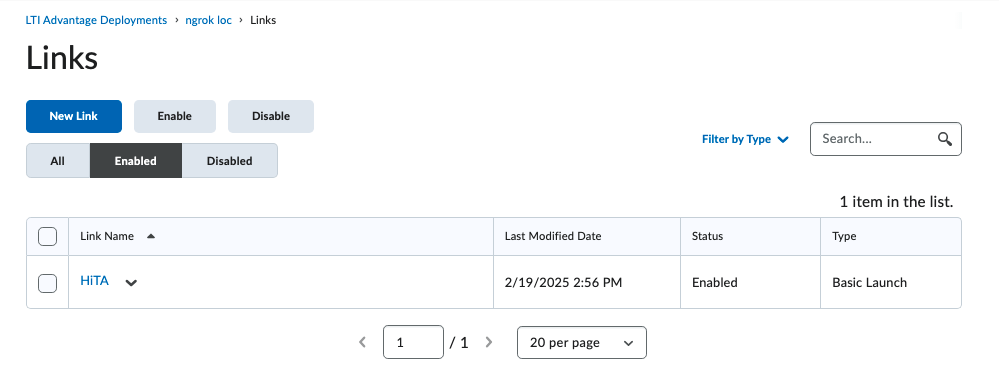
- Input the Name:
HiTA - Input the URL:
https://app.hita.ai/api/auth/lti/d2l/init - Select
Basic Launchas the launch type. - Click
Save.
Once the link is created and shared at the Deployment level it is available to be added by instructors in all of the courses that the deployment was shared with above.